Your smartphone or tablet walks through heavy and you do not know how to free up more space on Android? Calm, in a few steps and very simple steps you can make a cleaning on your device. To help you, the TechTudo prepared this tutorial with some tips and steps for you to make a real housecleaning on your device node.
Step 1. View the memory consumption
Before starting to free up the space on your Android device, it is advisable that you check what data they consume more memory. Some apps, such as SanDisk Memory Zone, DiskUsage and Storage Analyser, offering good resources to organize and view your memory. However, it is possible to do this also for the settings menu.
Step 1. Access the menu settings of your Android
Androis can bring” Settings “menu on the home screen or applications (Photo: Daniel Ribeiro / TechTudo)
. Select “Storage” and see the information about the data on your device, differentiated by the type of files on your memory and colored subtitles.
Android differentiates the types of cellular data tab” Storage “(Photo: Daniel Ribeiro / TechTudo)
Step 2. Uninstall some apps
download apps on Android is easy and can be done quickly, but it generates an accumulation over time. Therefore, it is good to check which games and programs are still needed and delete those older and less used.
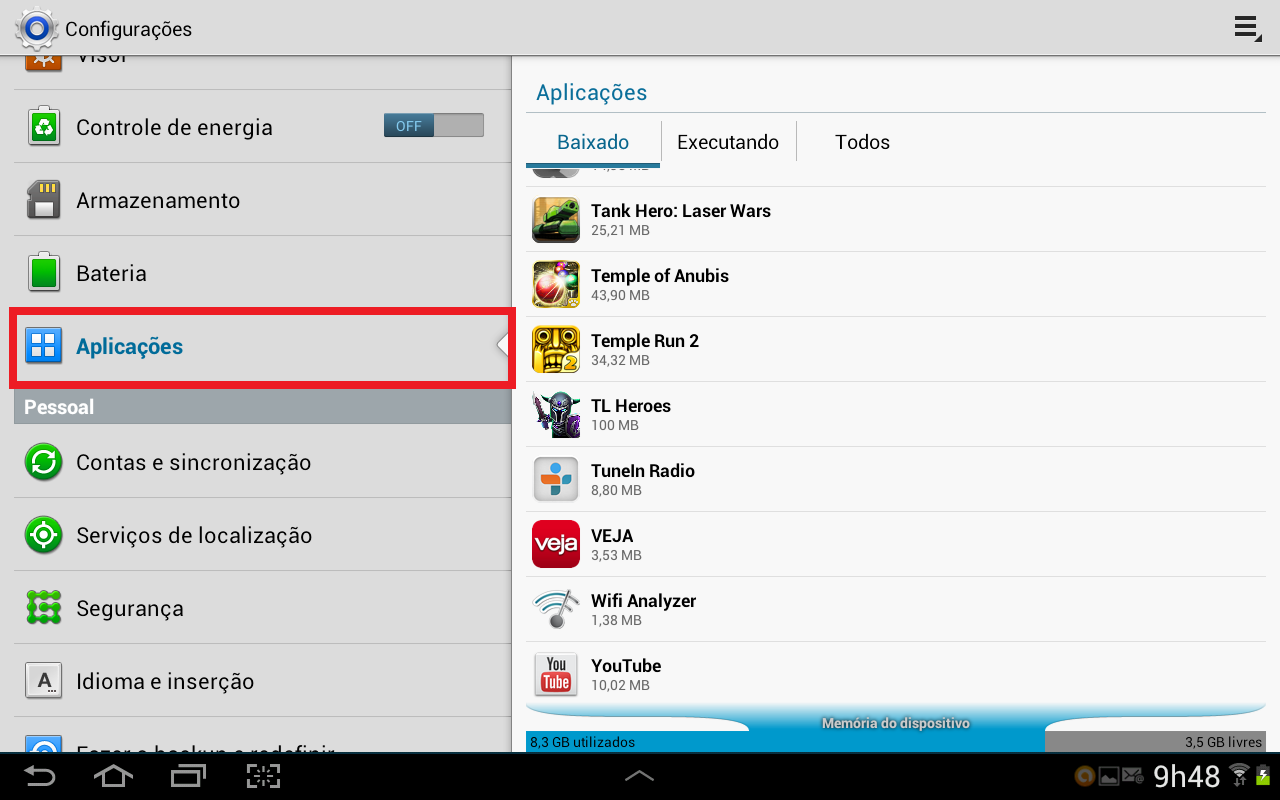
Step 1. Select the “Applications” menu “Settings” on your device.
list Android apps installed via the tab” Applications “(Photo: Daniel Ribeiro / TechTudo)
2. Select the application and press the “Uninstall”.
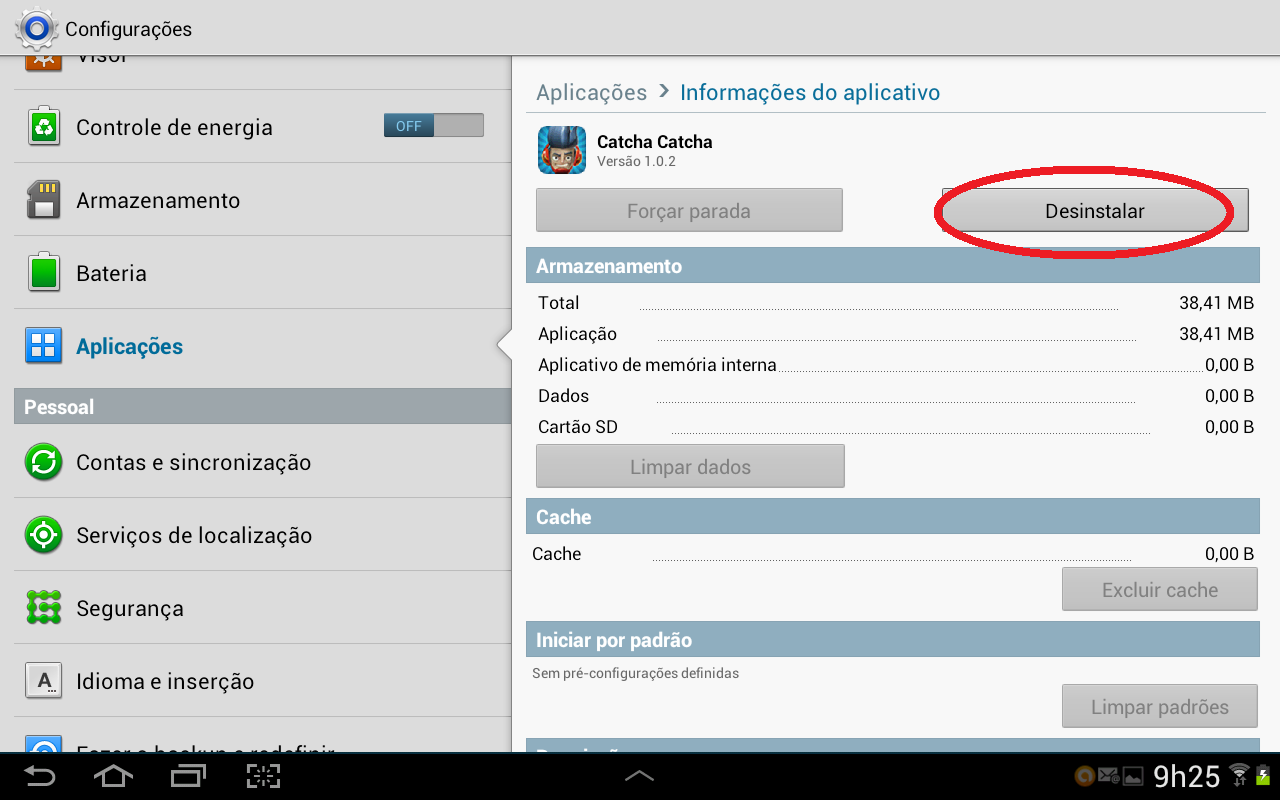 displays information of Android apps and select Uninstall option (Photo: Daniel Ribeiro / TechTudo)
Step 3. Move apps to the memory card
– Androids old
Step 1. If your iPhone is older than version 4.0 Ice Cream Sandwich, go to “Settings” menu and tap on the “Applications”;
") old Androids offer the option to move apps to memory card (Photo: Daniel Ribeiro / TechTudo)
old Androids offer the option to move apps to memory card (Photo: Daniel Ribeiro / TechTudo)
Step 2
. Select the “Move to SD card”.
– Recent versions
In modern versions of Android, sending apps to the memory card can only be done on the device that have performed root. However, it is possible to do it any other way.
Step 1. Connect your device to your computer and copy your apps from the device;
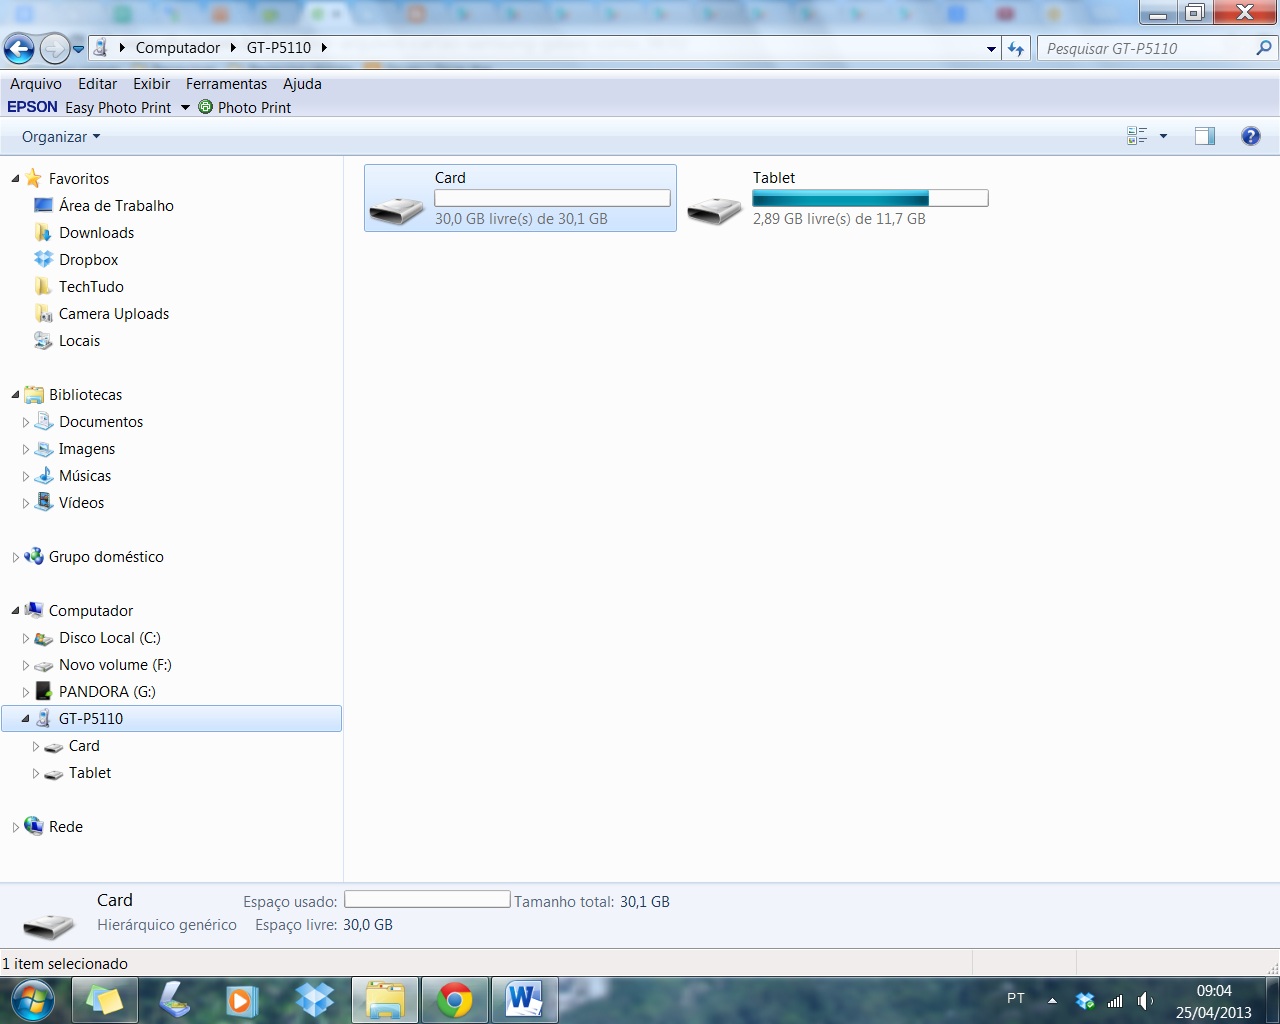 Connect your device to your computer and manually transfer applications from your memory to the SD card (Photo: Daniel Ribeiro / TechTudo)
Step 2
. Paste the file to the memory card.
Step 4. Clear the application cache
type data cache are used to obtain a speed of online access to information more quickly. So do not think twice before deleting the cache of apps you do not go too much or not containing sensitive personal information.
Step 1. Still on the “Applications” menu under “Settings”, choose apps underutilized or irrelevant;
 Android offers the option of cleaning application cache (Photo: Daniel Ribeiro / TechTudo)
Step 2
. In the application window, tap on the “Clear Cache”.
Android deletes cache applications gathered in the applications tab (Photo: Daniel Ribeiro / TechTudo)
Step 5. Take photos and videos from your device
Tablets and smartphones to help record your moment with photos and videos. However, over time, the image files accumulate and occupy much of the memory devices. So, it is best to clean your device. There are two options for this:
– Backup Cloud
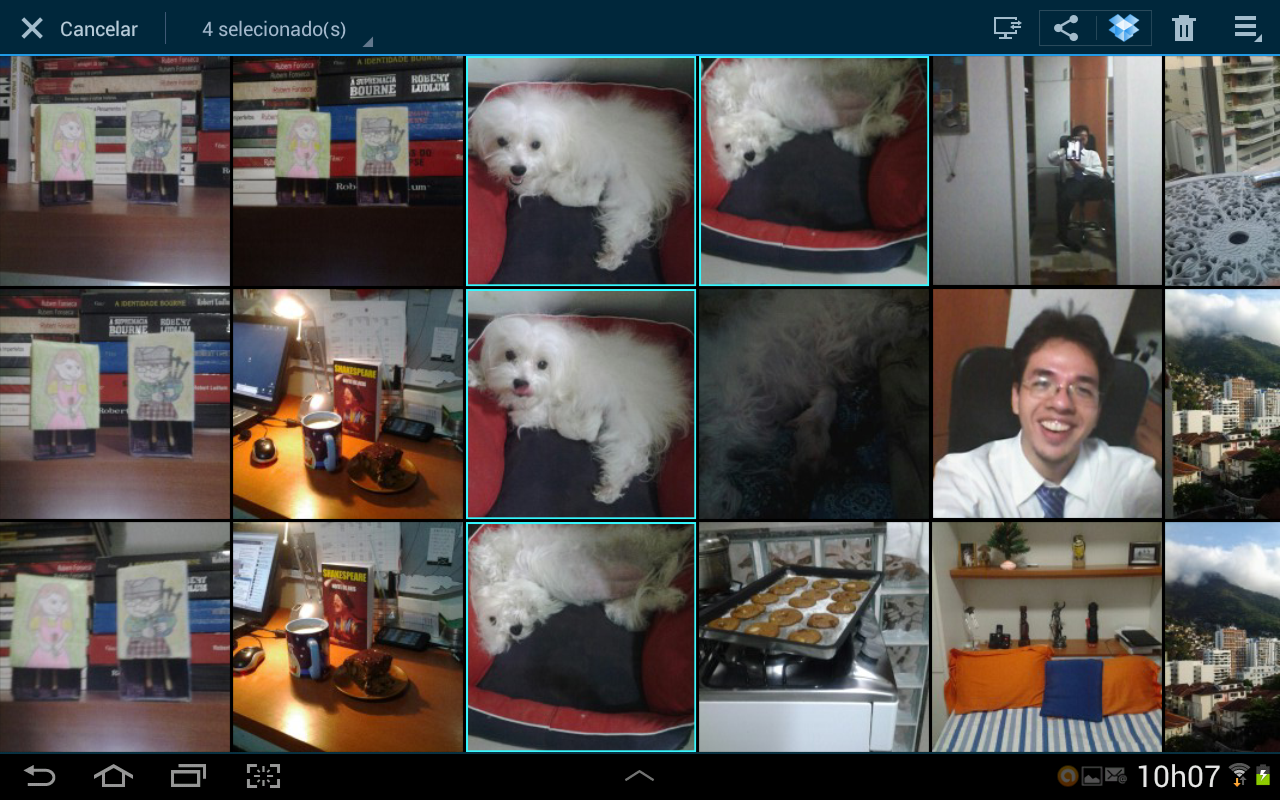
Step 1. Access the application “Gallery” and select the albums or photos you want to move;
 Android offers the option to save photos and videos directly on the cloud (Photo: Daniel Ribeiro / TechTudo)
Step 2
. Share your picture or video in the cloud, selecting one of the options on the share icon, like Picasa or more specific applications like Dropbox and Skydrive.
 Android has several methods for sharing photos and videos (Photo: Daniel Ribeiro / TechTudo)
– Save the files on your computer
Step 1. Connect your device to your computer via USB cable.
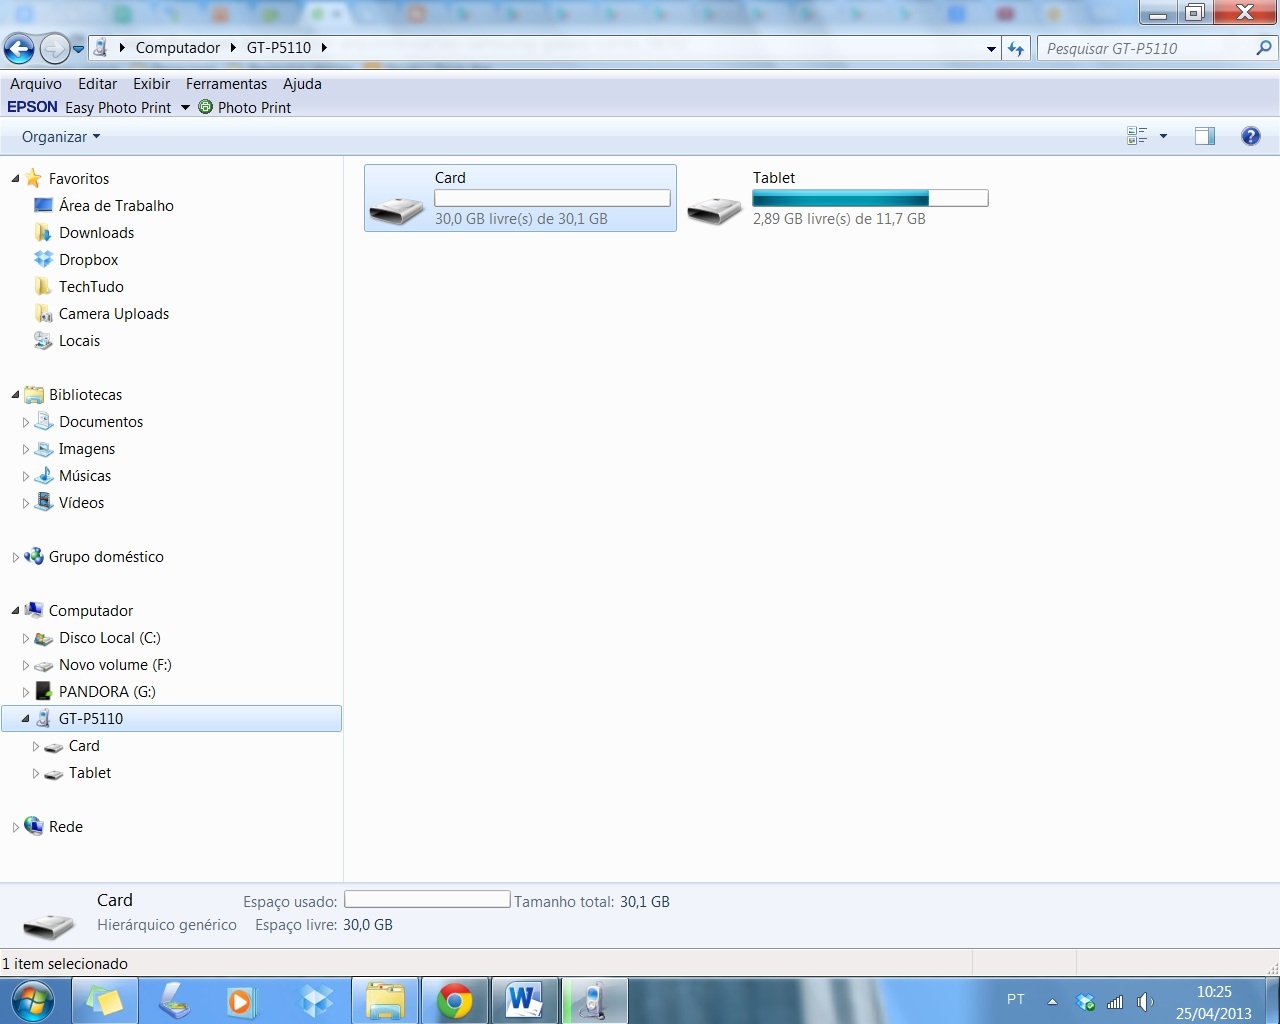 Connect to a computer via USB (Photo: Playback / Daniel Ribeiro)
Step 2
. Copy photos automatically in “Import pictures and videos” or explore the folders on your device until you find the desired files and then make a copy for your PC.
click the right mouse button on the device and select “Import pictures and videos” (Photo: Playback / Daniel Ribeiro )
Ready! With these steps, your device will get charged much less memory and can have a good performance increase. Do not forget to repeat this procedure with time.
-
How to remove duplicate photos and empty albums on Google+ Android
-
")
See how to modify the options of notification bar Galaxy S3
-
 (Photo: multiwindow option is enable the menu of Android (Photo: Playback / Thiago Barros))")
Using the feature Multiwindow Galaxy line?
No comments:
Post a Comment