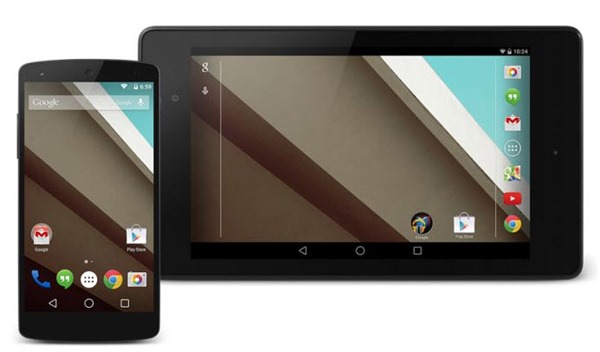
It was during the annual I / O conference 2014 Google unveiled the new Android L. With a more responsive interface, the new “Android” has undergone some changes especially in terms of design.
Yesterday Google released the images of the Android developer preview for the G Nexus and Nexus 5 7 (version 2013). Learn how you can install.

Since this is a preview version for developers, is normal that there may be still some bugs that lead to system instability. For those who nonetheless want to install this version on Nexus Nexus 5 or 7, just follow these steps:
Installing this ROM means that the data that is on the phone are completely eliminated. ! It is recommended that all make up this data before
Step 1: Download the appropriate version for your equipment, thus as the Fastboot / ADB and USB drivers. Then you must extract to a folder on the Desktop labeled “android”
Step 2: Open command prompt and go into the unzipped folder:
cd / < name user> / Desktop / android |
Step 3: Turn off the machine and boot into bootloader mode
- Nexus 5: Volume Up + Volume Down + Power
- Nexus 7: Volume Down + Power
Step 4: Make sure the equipment is detected by the PC (should have the equipment connected via the USB cable). It is enough to use the command:
For those who are on Mac, you must use the command
Step 5: To unlock the botloader on your device Nexus just running the command:
To confirm should use Volume Up . After unlocked must go to the next step
Step 6. G To Install Android developer preview should use the following command:
[ Windows]
[OSX]

Note: The script will automatically install the new ROM in equipment.Use important to note that the first boot will take some time, so be patient.
Try and give us your feedback for this new version of Android. .
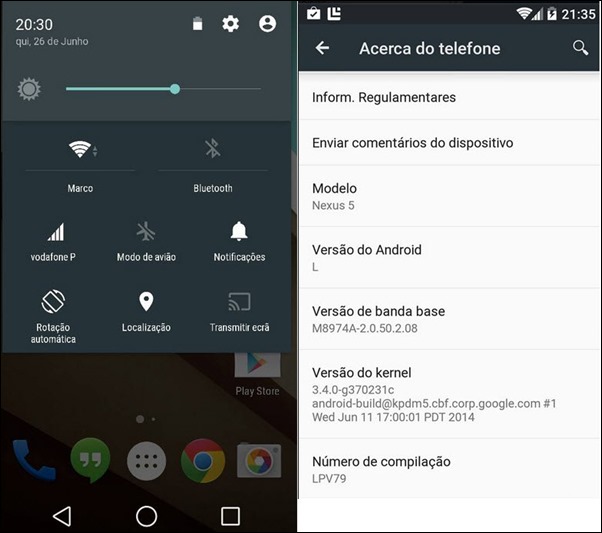
Thanks to Marco and Miguel from the screenshots
<-
<- - style="border-top:
Filed in category!:
<-
No comments:
Post a Comment